Table of Contents
Fleet View
Fleet View : Preview
Fleet View
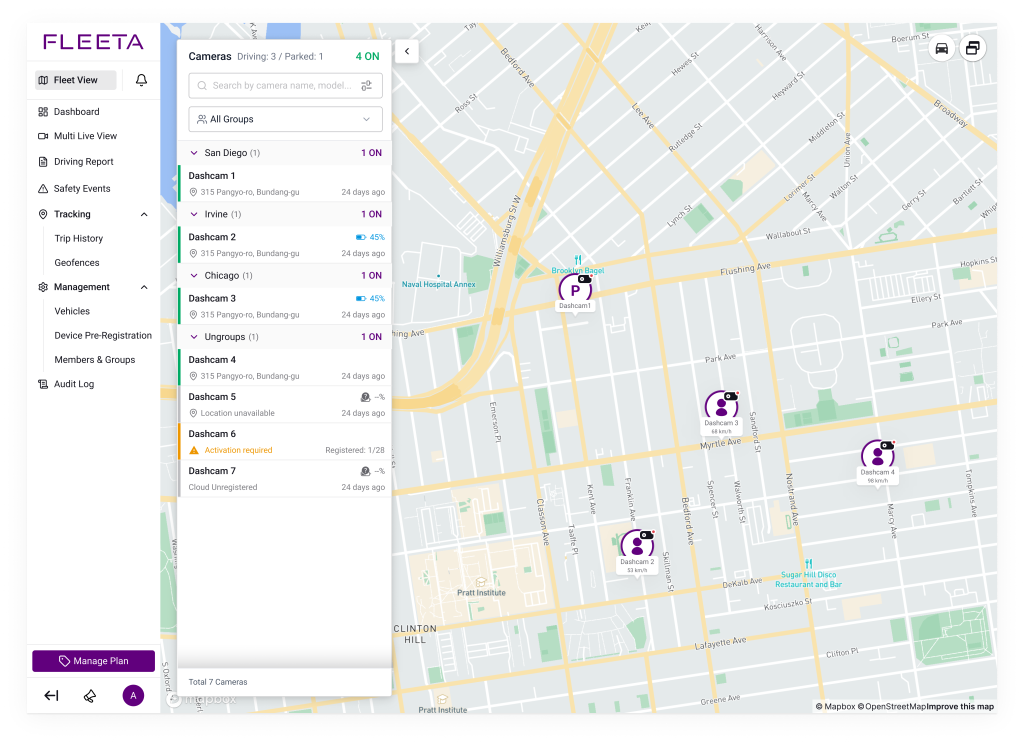
Fleet View : Preview
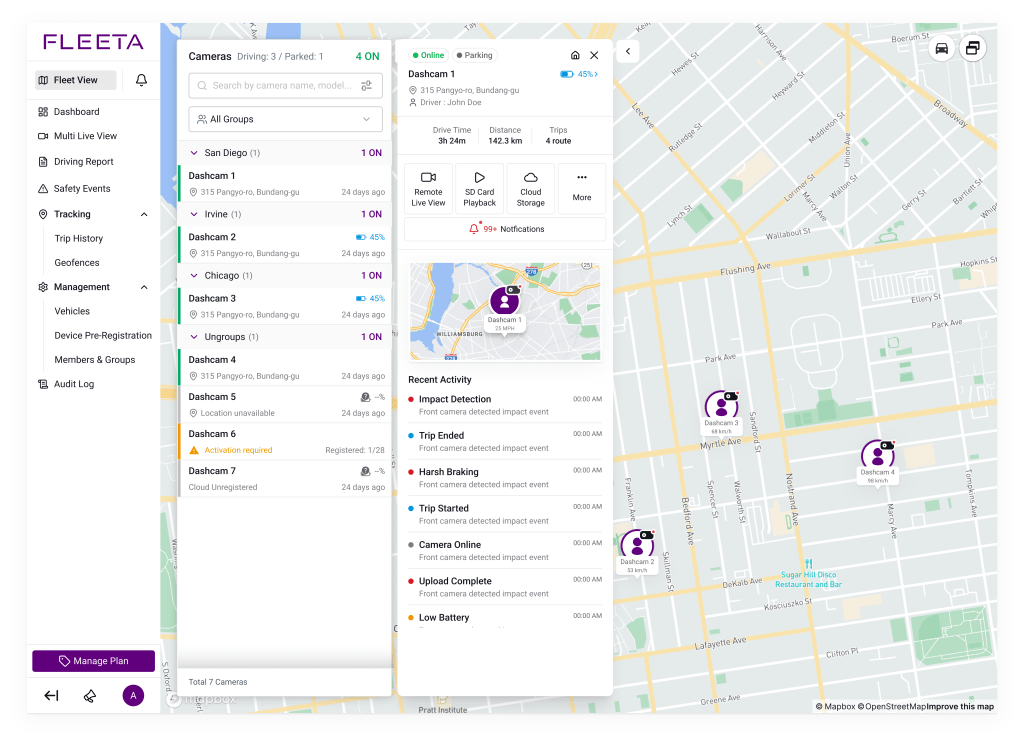
When you select a camera from the list, a Preview panel will appear. The available features vary depending on the camera’s connection status.
- If the camera is online, all features are available.
- If the camera is offline, in an Activation Required state, or in a Cloud Unregistered state, features that require a cloud connection — such as Remote Live View and SD Playback — will not be available.
💡Available features may vary for Admin and Driver roles depending on their assigned permissions.
Online
Offline
Activation Required
Cloud Unregistered
Online

- A camera connected to the cloud is displayed as online.
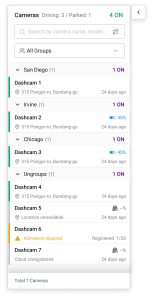
- The camera name, location, and last cloud connection time are shown.
- If a BlackVue battery is connected, the remaining battery level is also displayed.
Offline

- A camera disconnected from the cloud is displayed as offline.
- The camera name, location, and last cloud connection time are shown.
- If a BlackVue battery is connected, the battery icon is also displayed.
- However, since the camera is not connected to the cloud, the exact location and battery level cannot be displayed.
Activation Required

- A camera registered remotely via the Web Viewer is displayed as shown in the image above.
- In this state, the camera is not yet connected to the cloud, and remote features cannot be used through the Web Viewer.
- Please connect the camera to the app to proceed with cloud activation.
Cloud Unregistered

- A camera that is not registered to the cloud is displayed as shown in the image above.
- In this state, the camera can only be used locally by connecting directly to the app via Wi-Fi.
- Connect the camera to the cloud to start using cloud features.
Before Group Creation
After Group Creation
Before Group Creation
Before any groups are created, all cameras registered to your account are displayed under a single default group called “All.”
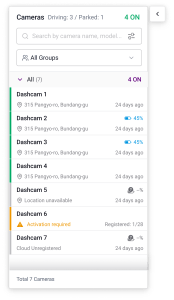
After Group Creation
When you create a group via the Web Viewer and assign cameras to it, the left panel will be displayed as shown below. Once a camera is assigned to a group, the remaining cameras that are not assigned to any group are automatically grouped under “Ungrouped.”