Click Sample Download to download the CSV template.
Fill in the CSV file in the following column order:
Column
Description
serial number
PSN (Required)
apn
APN (Optional)
username
Username (Optional)
password
Password (Optional)
battery ssid
Battery Name (Optional)
Click Upload File (CSV) and select your completed file.
Review the Verified Dashcam List and click Confirm.
Once confirmed, you will be redirected to the Camera List.
💡 Pending cameras behave the same as Disconnected cameras and can be used via Wi-Fi when nearby. However, since they are based on temporary data, they will not connect to or register with the cloud even if connected to the internet (LTE or Wi-Fi). Pending cameras are automatically deleted after 30 days.
💡 Use this method if you are near the dashcam. Ensure your dashcam is powered on and nearby.
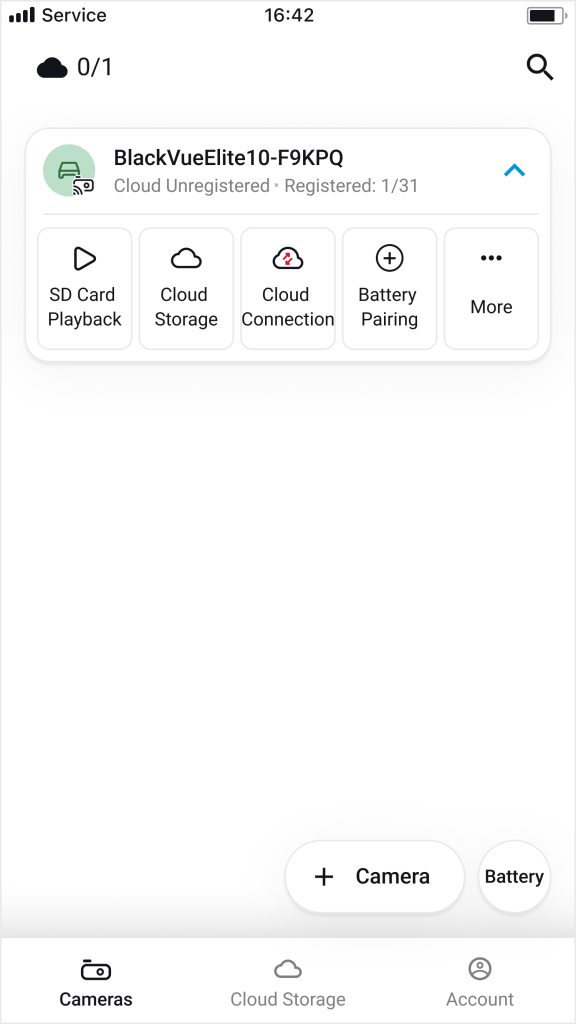
1. Tap ‘Cloud Connection’
Select your dashcam from the list, then tap Cloud Connection.
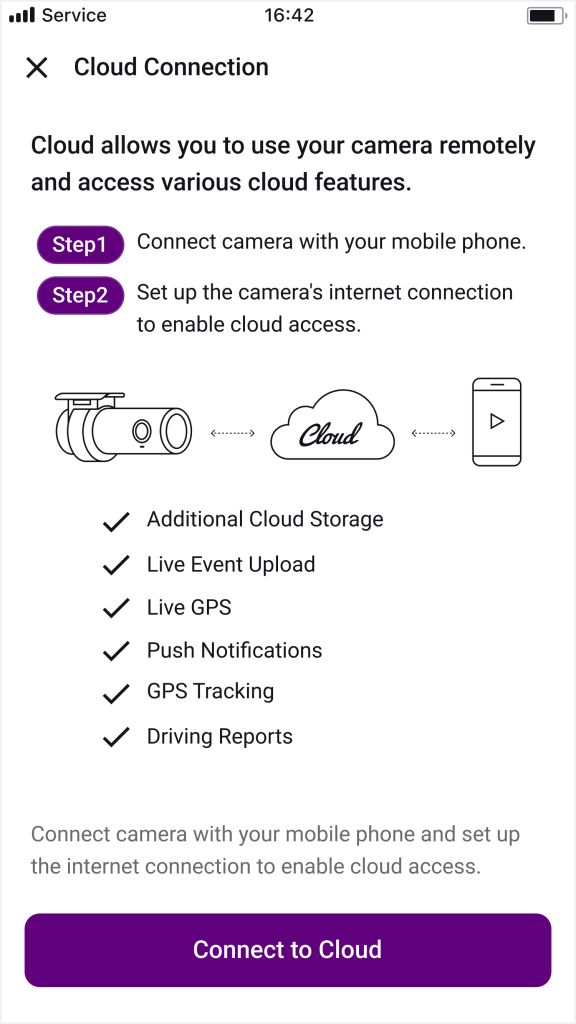
2. Read the Guide and Tap ‘Connect to Cloud’
Read the cloud service info and tap Connect to Cloud
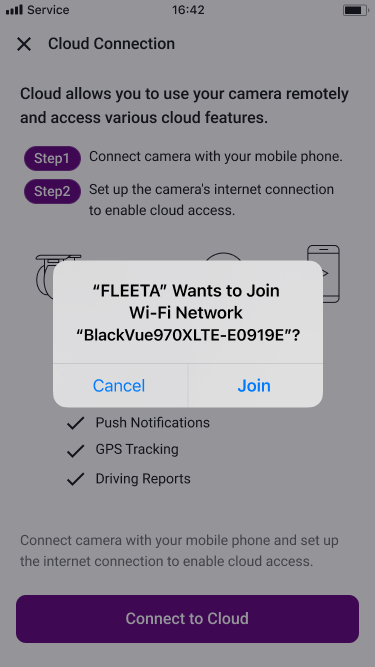
3. Connect to the Dashcam via Direct Wi-Fi
Follow the in-app instructions to connect your phone to the dashcam’s Wi-Fi
4. Configure Cloud Connection Type
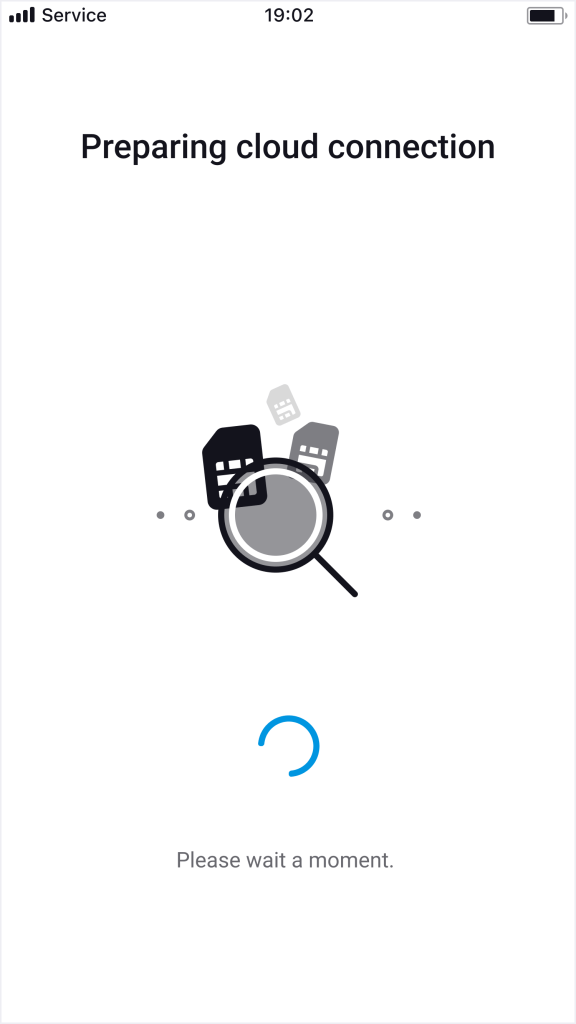
The app detects your dashcam’s connectivity method. Follow the steps based on your type:
BlackVue SIM
3rd Party SIM
Hotspot
BlackVue SIM
3rd Party SIM
Wi-Fi Hotspot
BlackVue SIM
Wait until activation process done.(Active subscription required)
3rd Party SIM
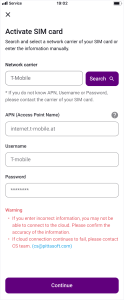
Enter your carrier’s APN settings, then tap Continue.
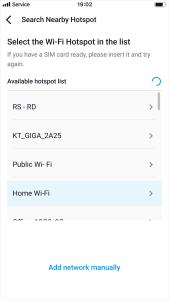
Wi-Fi Hotspot
Select a Wi-Fi hotspot, enter the password, and confirm.
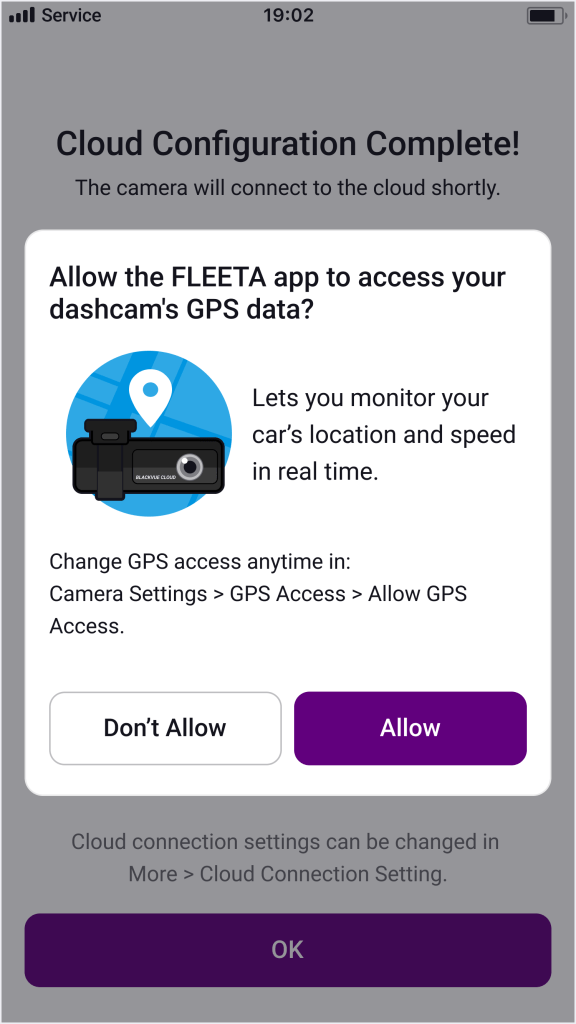
5. Set GPS Permissions
Allow GPS access to enable vehicle location and speed tracking
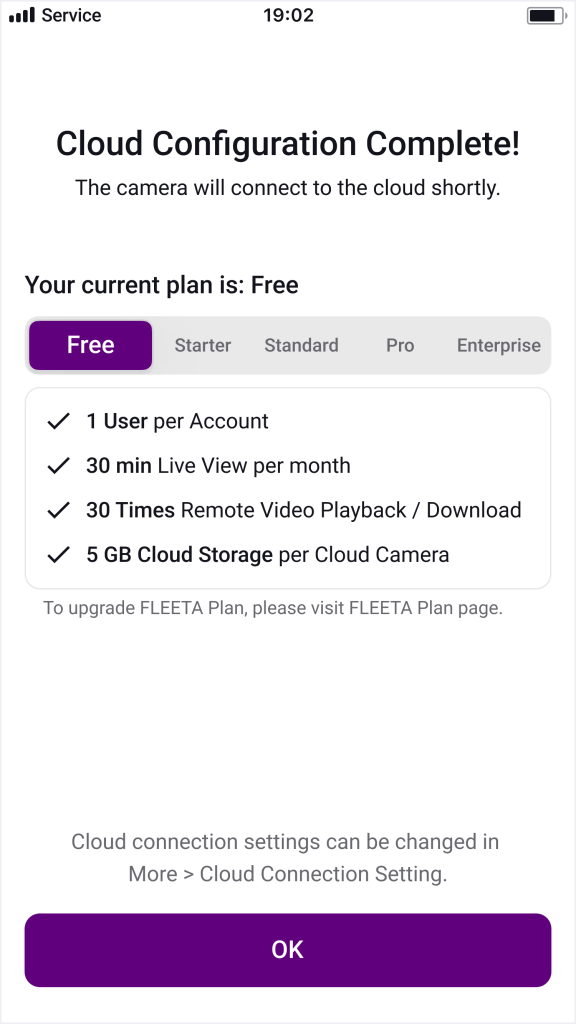
6. Complete Cloud Connection
The setup may take 2–3 minutes. If it fails, check that your internet connection information has been entered correctly. If the cloud connection still does not succeed, reboot the dashcam and try again.
Once you hear “Cloud connected” from the dashcam or see the cloud icon turn sky blue in the app, your dashcam is ready for Live View, Remote Playback, and more