What is Geofences? #
A geo-fence is a virtual area drawn in the BlackVue Web Viewer map representing a specific real-world geographical area. Fleet tracking companies create geo-fences to monitor the activities in a particular real-world geographical area represented by the geo-fence.
Click Geofences in the side navigation bar. You will be able to view the whole number of registered zones on the map once you enter Geofences.
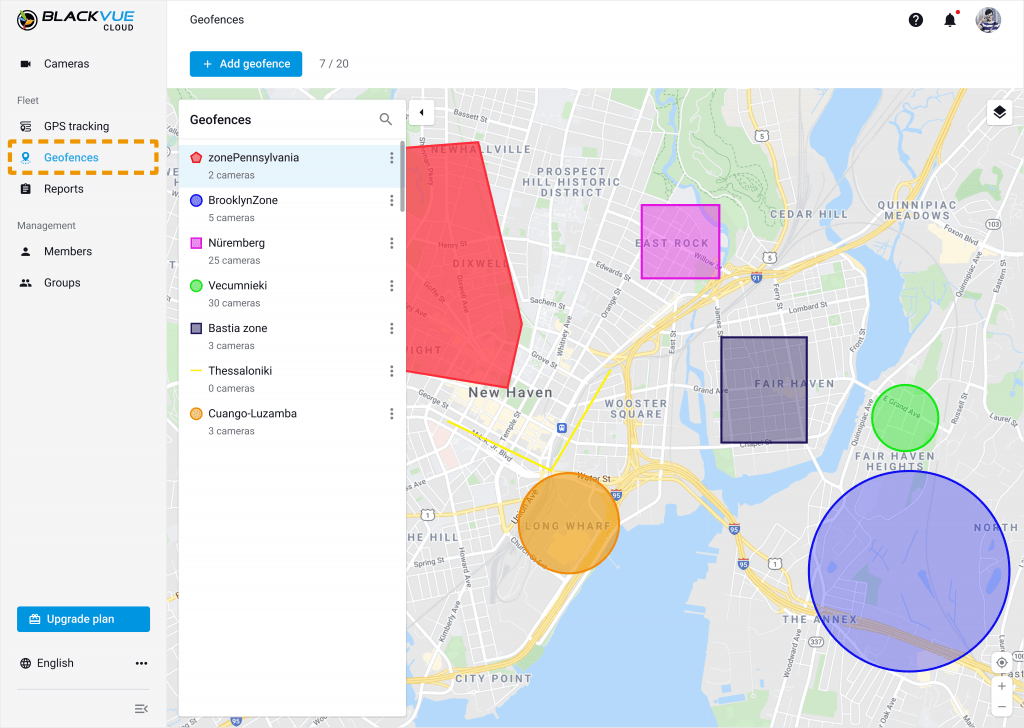
If you look at the zone list, you will find all the zones registered to your BlackVue account. Newly registered zones will be added in a timely fashion. You can register up to 20 zones in the list.

How to add Geofence zone #
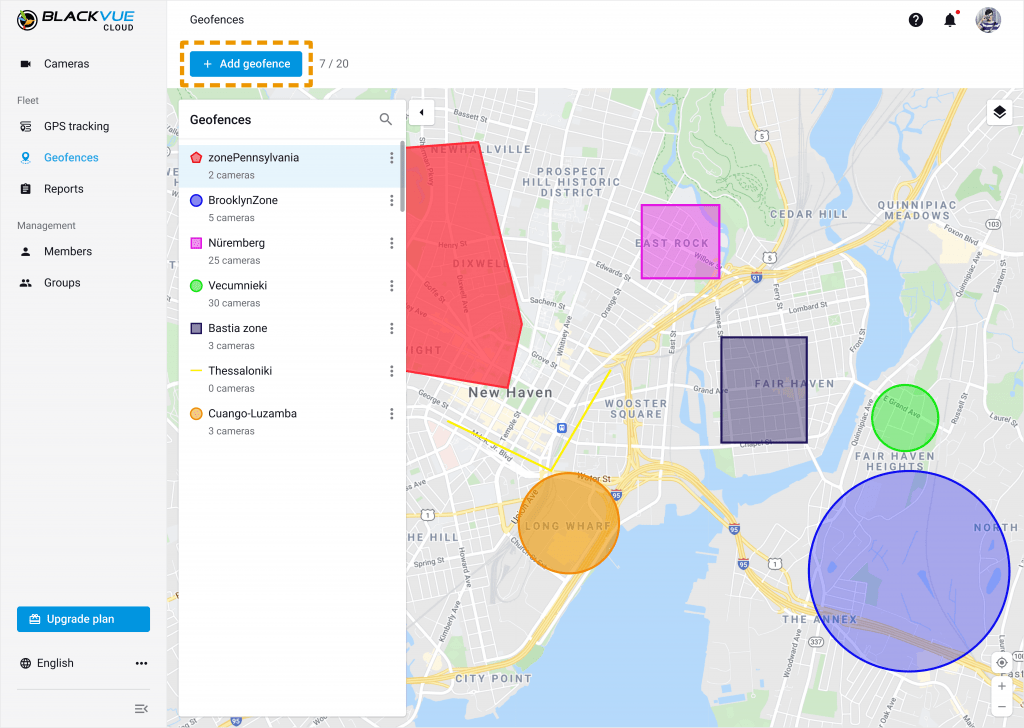
To add a Geofence zone, click ‘+ Add geofence’.
Note: if you already have registered 20 geofence zones, you are not allowed to add more. Take a look at the number near the add button. “n / 20” means that you already have registered the “n” number of geofences out of the total number of 20 geofence limits.
If you click +Add geofence, you will find the following message in the middle of the map and be asked to select a geofence shape and draw one on the map at first.
*Note: You can undo all these actions after resizing and moving a shape on the map. Once the ‘undo’ action is engaged, you can redo all the undone actions.
Definition of Geofence shapes #

The polygon shape is selected by default. You have a polyline, ellipse, and rectangular shape other than the default shape.
1) Select a shape and draw it on the map. Resize or remove it wherever you see fit. (default – polygon)
2) Name the geo-fence zone.
3) Change the color and opacity of the shape.(default color – red, default opacity – 50%)
4) Set up notifications settings. Get notified upon entering and/or exiting the zone. (default – off)
*Note: If you select a polyline, you will be asked to pass the route.
5) Set up Live Event Upload settings. Save Event videos in Live Event Upload cloud storage. (default – off)
6) Link any camera to the newly created zone. (default – none)
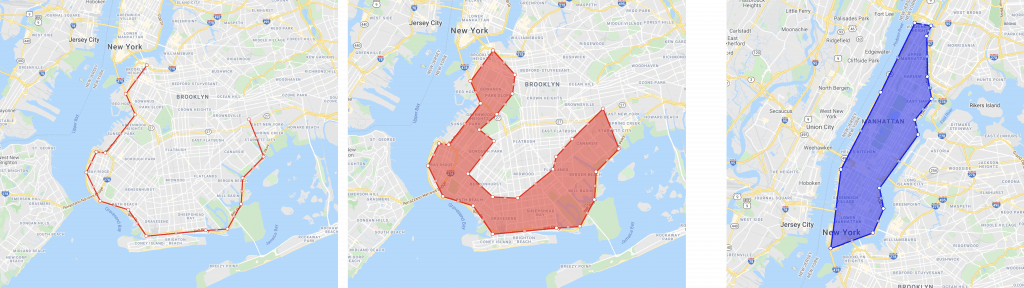
Polygon
You can create a polygon shape zone by clicking as many points on the map as you would like. It is a useful type of shape since you can pinpoint a certain area on the map as shown below. An undo button is available if you move a point of the zone after creating one.
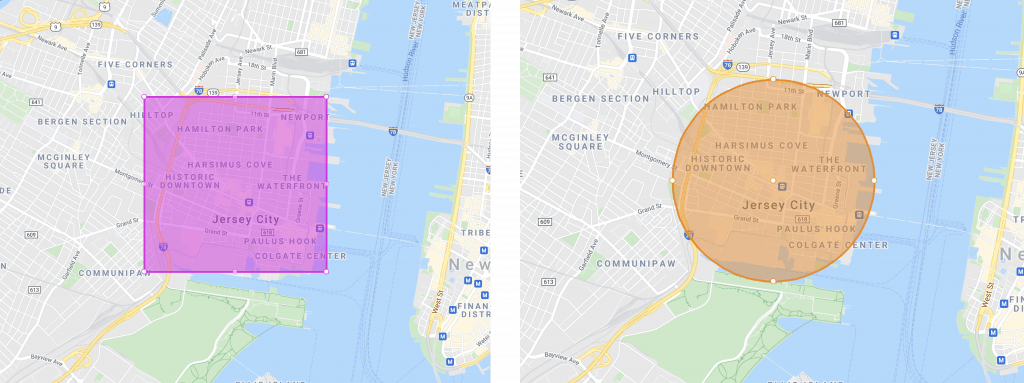
Rectangle & Ellipse
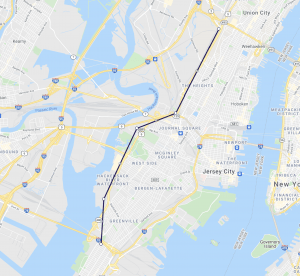
Polyline
Use a polyline zone for a certain route you would like to get alerted upon passing. You will be alerted when your camera passes these lines.
Change the opacity of the zone.

How to receive a Geofence Notifications #
Set up geofence notifications.
You receive a notification when your camera enters or exits the geofence you set (when passing if the geofence is Polyline).

How to save a Geofence Live Event Upload #
Set up geofence Live Event Upload.
You save event videos in Live Event Upload cloud storage when your camera enters or exits the geofence you set (when passing if the geofence is Polyline).

Select the camera(s) to which the geofence settings apply #
Select the camera to receive notifications and save Live Event Upload files.

Click Save to finish adding a geofence.
Editing Geofences #
Click the geofence you want to edit (for example, the red circular geofence below).


Drag the shape from any of the points to change the size of the geofence. You can also change the geofence’s name, color, opacity level, notification type, and to which camera to apply the settings.

NOTE: The shape of an existing geofence cannot be changed to other shapes.


