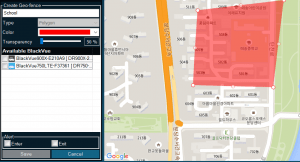
Geo-fencing #
1. Click on the Geo fencing in the top bar of the PC Viewer.
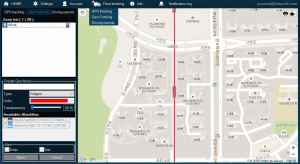
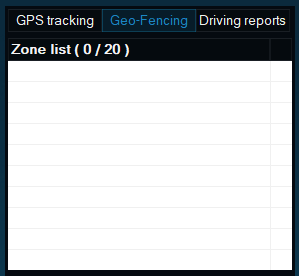
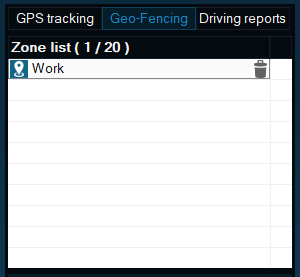
2. If you look at the zone list under Geo fencing, you will find all the zones registered to your BlackVue account. Newly registered zones will be added in a timely fashion.
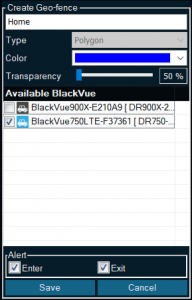
3. You can type in the name of the zone you would like to register. Select a shape, color, and transparency of the zone.
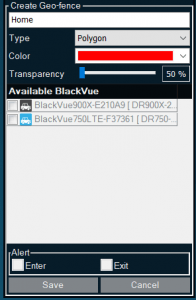
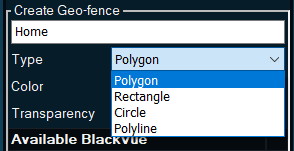

4. You can select one of the 4 different zones.
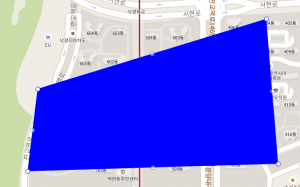
Polygon
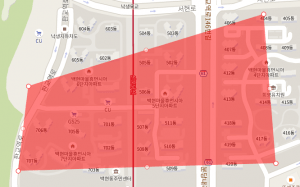
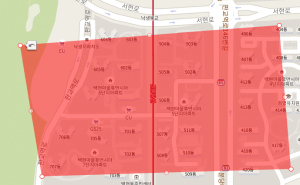
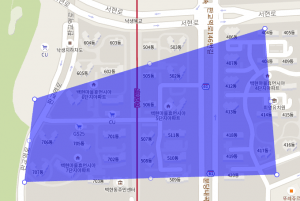
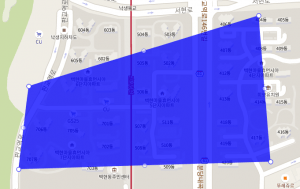
You can create a polygon shape zone by clicking as many points on the map as you would like. It is a useful type of shape since you can pinpoint a certain area on the map as shown below. An undo button is available if you move a point of the zone after creating one.

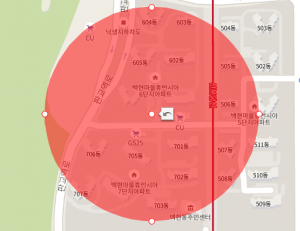
Rectangle & Circle

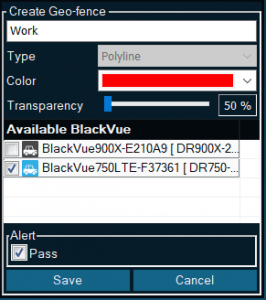
Polyline
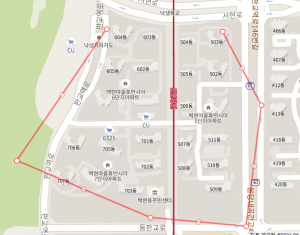
Use a polyline zone for a certain route you would like to get alerted upon passing. You will be alerted when you pass these lines.

Change transparency. From left to right, you can see 50% (default), 75%, 100%.
5. Then you will have to select which camera you would like to assign the zone to and when to get alerted. Only the selected cameras will get alerted of an entry and (or) exit whenever you get in and (or) out the zone. You are supposed to select at least one between Enter and Exit, or both of them.
6. If you selected a polyline, you will be asked to pass the route. The camera will alert you with a small beep when you pass the polyline route.
7. If you finished setting up the zone, click the Save button. You will find the newly registered zone in the list.
Save button will not be available unless you complete creating a zone over the map after selecting the camera and alert preference. Cancel will be activated if you draw a zone over the map even without selecting the camera and alert preference.
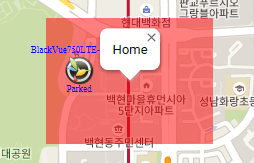
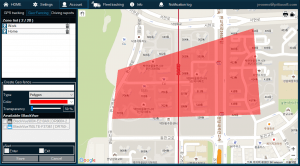
8. If you first log in the PC viewer, you will be able to see Geo fencing zones on the map view. If you click over the zone, you will see the detailed settings on the zone card.